
Nobody warns you how fast a tiny kitchen fills up. You buy one good pan, one cutting board, and a few jars, and suddenly the counter is gone. Then you are chopping onions on a board balanced over the sink.
The usual advice does not help much. Buy more bins, they say. But bins take up room too, and a tiny kitchen has none to spare. The real fix is to use the spots you already own but ignore: the wall, the cabinet doors, the air above the counter, the empty stretch beside the fridge.
These five tiny house kitchen ideas work that way. None of them needs a contractor or a big budget. Most take an afternoon, and a few take less. Each one tells you what to do, why it works, and what it costs in money and effort, so you can pick the ones that fit your place and skip the rest.
1. Hang a Rail Under the Upper Cabinets for Everyday Tools
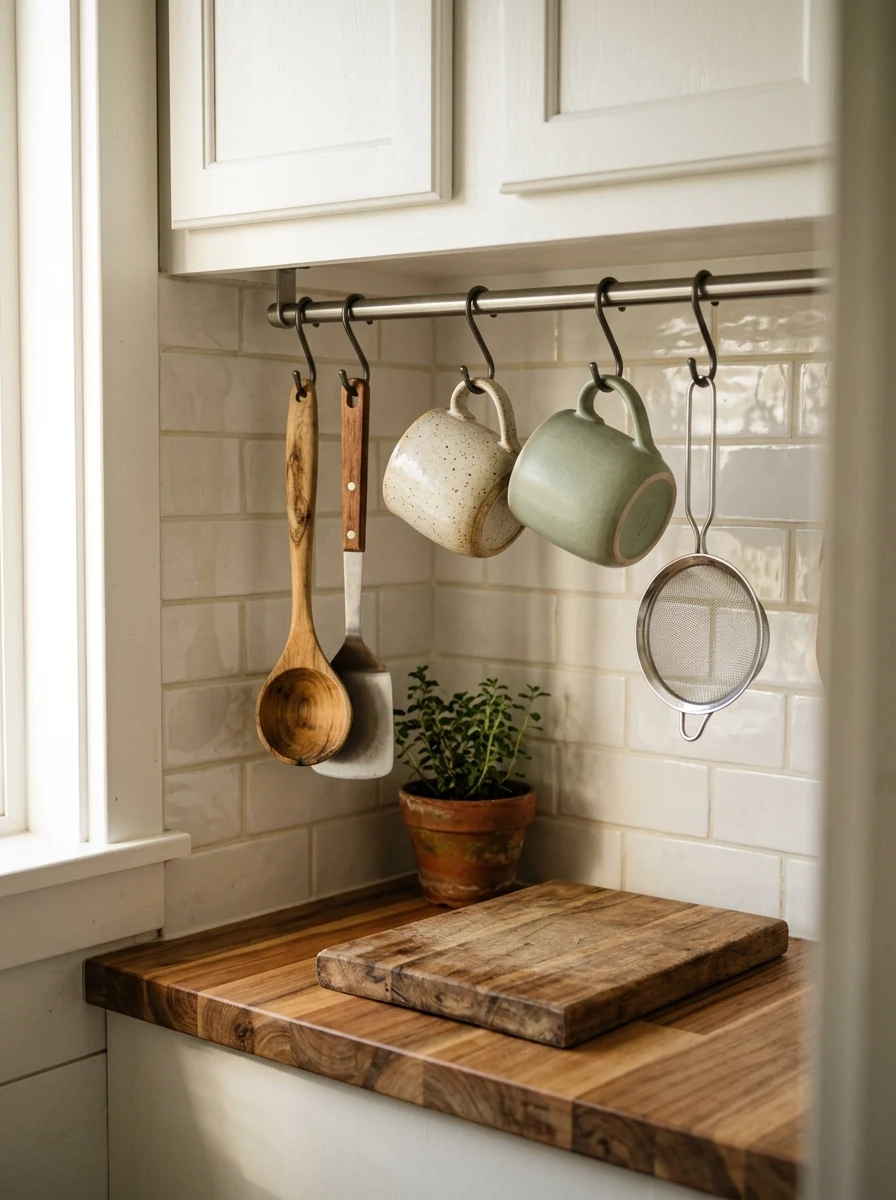
Mount a metal rail along the underside of your upper cabinets. That is the whole idea.
Hang the things you grab daily: a ladle, a spatula, a few mugs, a small strainer. They leave the drawer, and the drawer finally closes without a fight.
- Why it works: it uses the dead air between the counter and the cabinet.
- Cost: low. A rail and a handful of hooks are easy to find at a hardware store.
- Effort: a drill and a level.
Keep cast iron off it. Rails hold light and medium tools best.
2. Add a Fold-Down Counter on the Empty Stretch of Wall
Prep space vanishes the second the dish rack comes out.
A drop-leaf shelf fixes that. It gives you a landing spot for hot pots and a place to roll dough, then folds flat against the wall when you are done. Put it beside the stove or the fridge, where your hands already look for a spot to set things down.
A ready-made one costs more. A reused board with hinges costs less. Either way, plan on one afternoon.
Check that it clears your walking path when open. A leaf that blocks the door gets old fast.
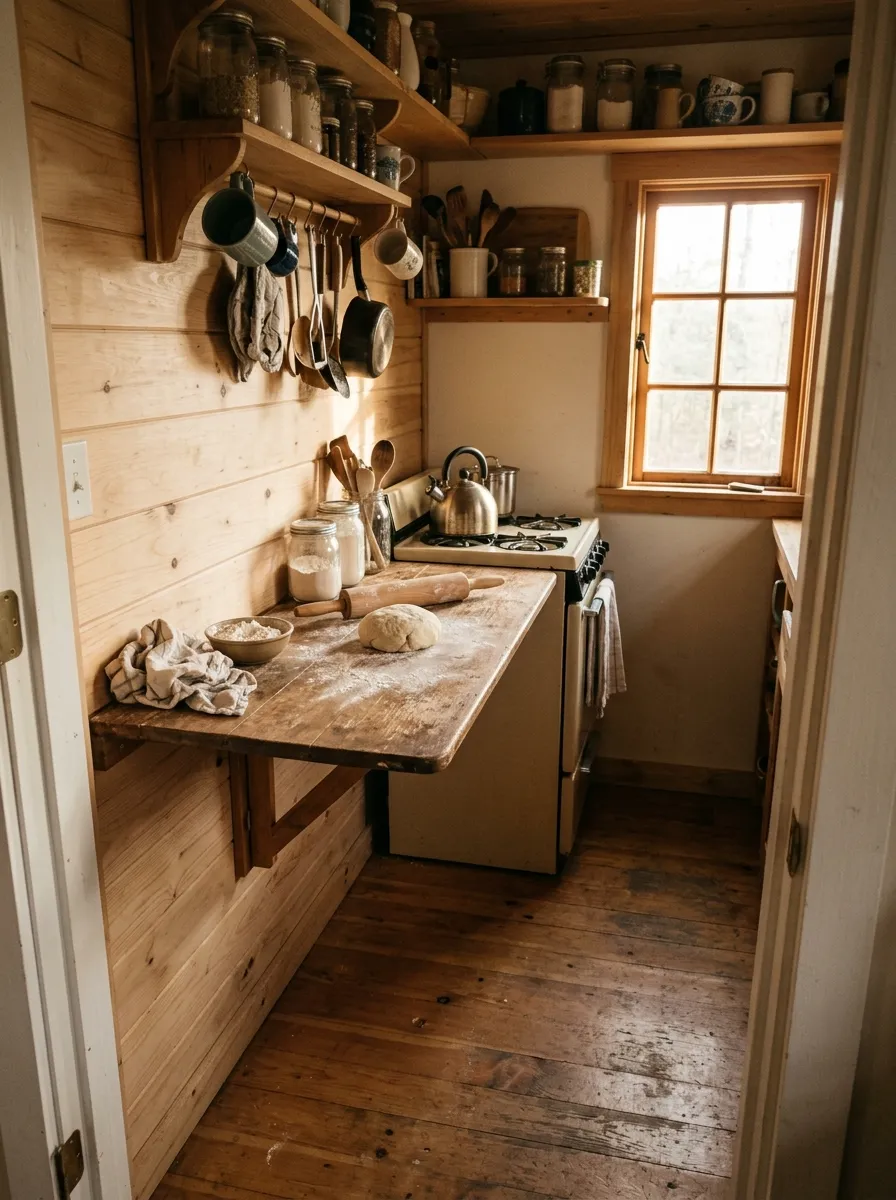
Pick a wall spot away from the open flame and out of the main walkway.
Screw heavy-duty hinges into wall studs, not just the panel.
Add a folding bracket or a swing-out leg so the leaf holds steady when you lean on it.
3. Swap Two Upper Cabinets for Open Shelves, With One Rule
“Open shelves get messy” is true only when there is no rule.
Here is the rule: only things you use every week go up. Daily plates, bowls, and mugs. Nothing else. When everything on the shelf earns its spot, the shelf looks calm on its own.
Taking off two cabinet doors costs very little, and a pair of solid shelf boards finishes the job. The wall also looks lighter, and you can see what you own, so you stop buying a second jar of cumin.
Skip the shelf right beside the stove. Cooking grease settles on everything within reach.
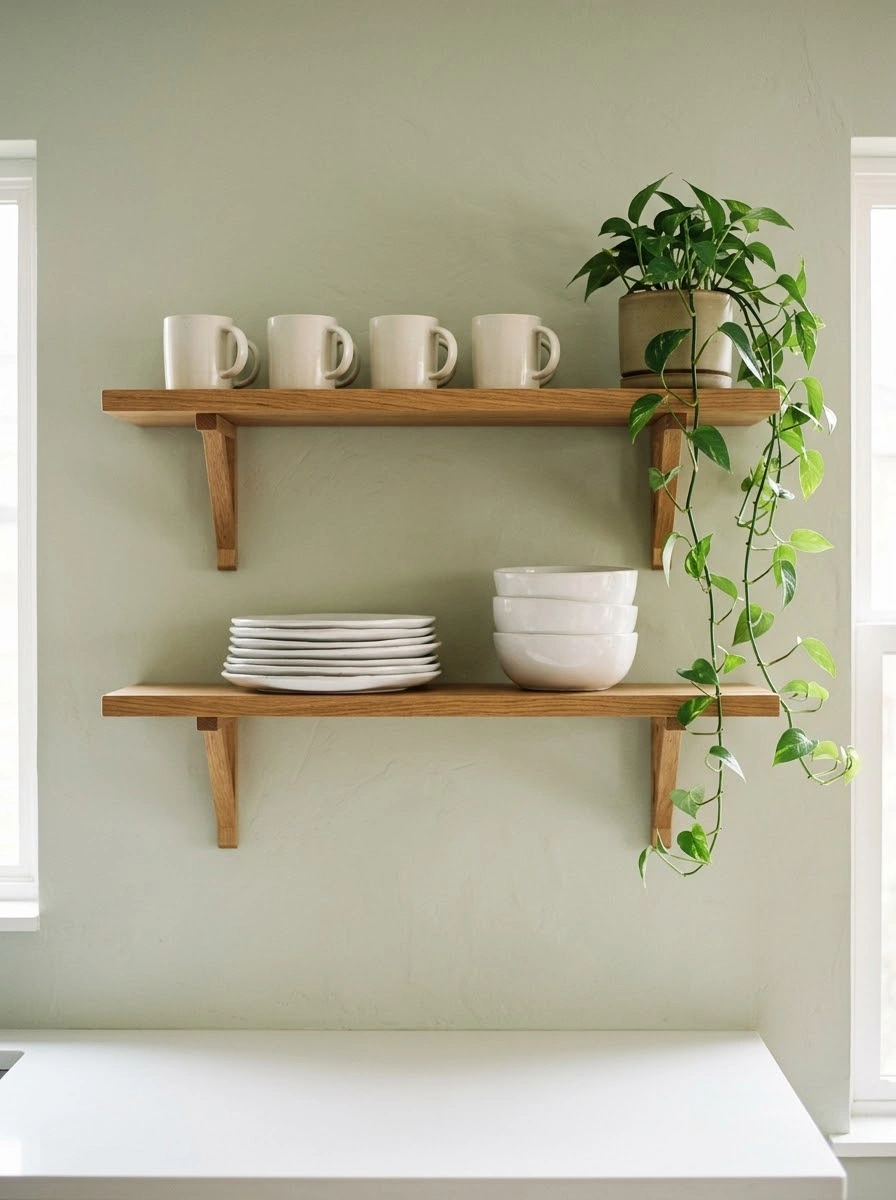
Shelve daily plates, bowls, and mugs.
Keep items in a matching color family.
Putting a shelf in the stove splatter zone.
Storing odd gadgets and paper goods in plain view.
4. Use the Back of Every Cabinet Door
Open the cabinet under your sink and look at the door. Blank, right? Most of them are.
That flat panel can hold more than you think. A slim rack turns it into a home for the things that usually crowd the shelf floor. Renters can use over-the-door hooks and adhesive racks. Owners can screw racks straight in.
One catch: test the clearance before you commit. If the door no longer closes, the rack is too deep, or something inside is in the way.
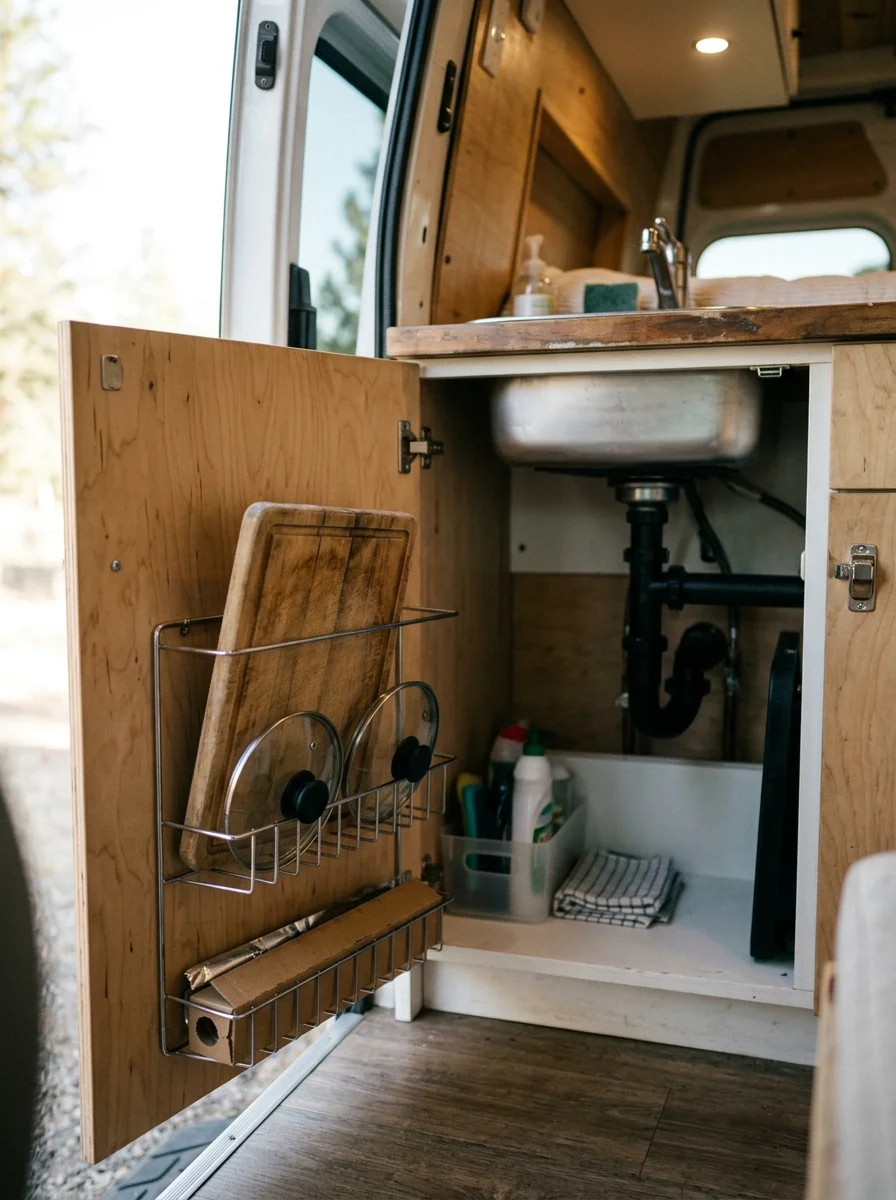
What fits well on a cabinet door
5. Paint It Light and Add Strip Lights Under the Cabinets
A dark tiny kitchen feels like a closet. A light one feels like a room.
Start with the walls. A soft, light color bounces daylight around and makes the space read wider. Then add a plug-in strip light under the upper cabinets, so your chopping area is lit from above your hands and not behind them. Choose warm white. Cold white makes food look gray.
Paint is low cost, and plug-in strips need no wiring. Renters can use peel-and-stick options instead.
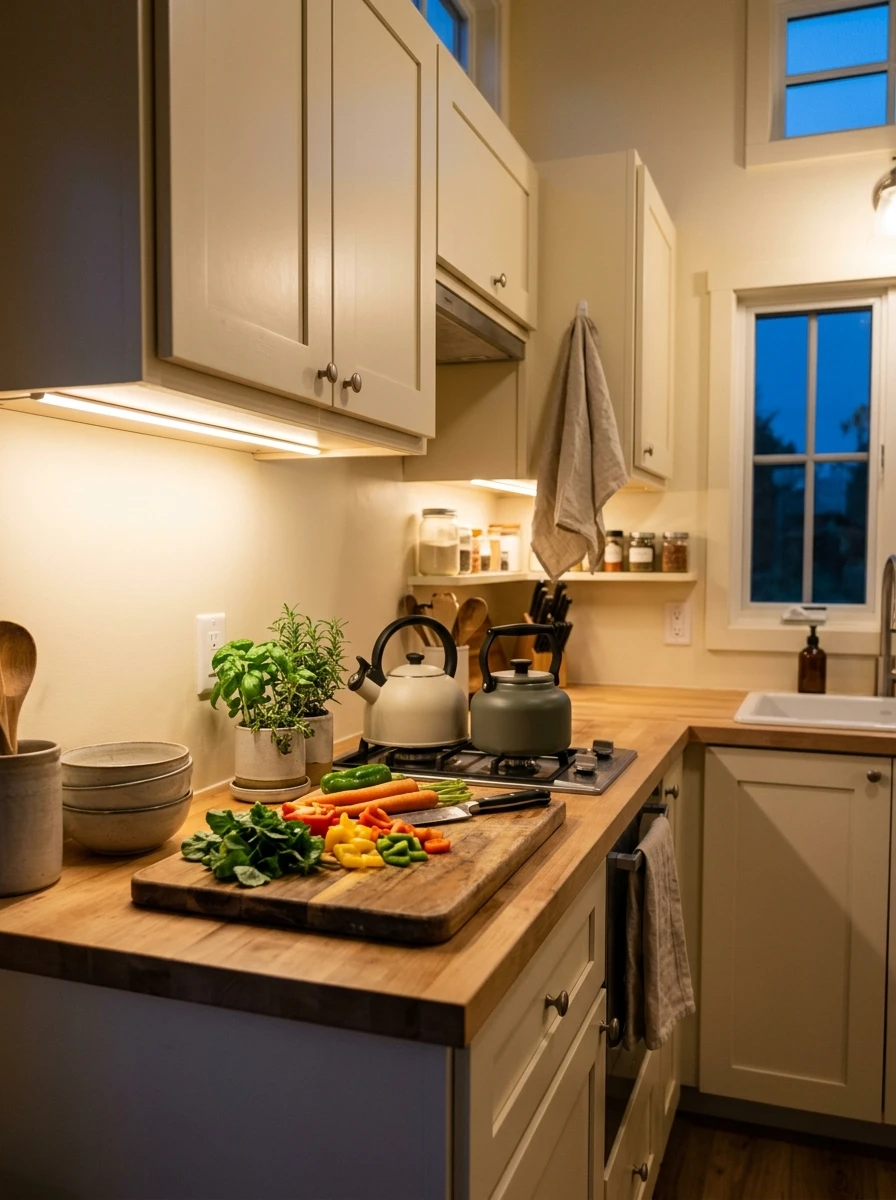
Dark walls, one ceiling light, and a shadow falling right where you chop.
Light walls, a warm strip light under the cabinet, and an evenly lit counter.
Conclusion
A small kitchen does not need to be bigger. It needs to be used better. Every idea here borrows space you already have: the wall, the door, the shelf, the light. Start with the one that costs the least, like the rail or the cabinet door rack, and see how the counter feels after a week.
If you are still collecting tiny house kitchen ideas, keep this list nearby while you plan. At snogroam, we share more small space ideas like these, so come back whenever you want a fresh one.